How to Install and Set Up Your VicoHome WiFi Camera
Installing and setting up your VicoHome WiFi camera is a straightforward process that can be completed in just a few steps. This guide will walk you through the installation and setup process to ensure your home is secure in no time.
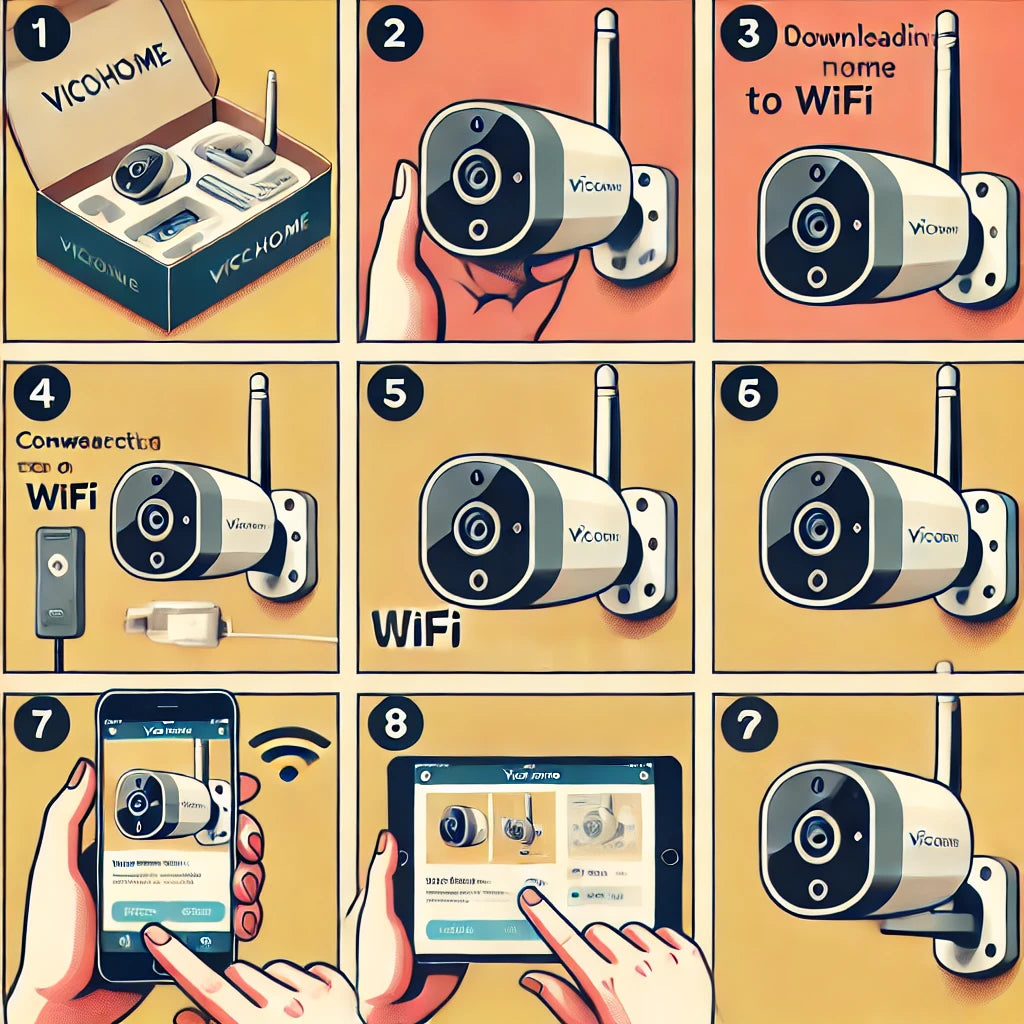
Step-by-Step Guide
-
Unboxing Your Camera
- Start by unboxing your VicoHome WiFi camera and ensuring all components are included.
-
Downloading the VicoHome App
- Download the VicoHome app from the App Store or Google Play Store to manage your home security system.
-
Creating an Account
- Open the app and create a new account or log in if you already have one.
-
Connecting to WiFi
- Follow the in-app instructions to connect your camera to your home WiFi network for seamless integration.
-
Mounting Your Camera
- Choose an optimal location for your camera and mount it using the included hardware to maximize your home security.
-
Adjusting Camera Settings
- Use the app to adjust settings such as motion detection sensitivity, recording schedules, and more.
-
Testing Your Camera
- Ensure your camera is working correctly by viewing the live feed and testing the motion detection.
Conclusion
Setting up your VicoHome WiFi camera is quick and easy. By following these steps, you can enhance your home security in just a few minutes. For more detailed instructions and troubleshooting tips, visit vicosafe.com.
-
Original price $99.99Original price $99.99Original price $99.99Current price $79.99$79.99 - $79.99Current price $79.99
Wireless Camera CQ1 - Solar panel
Outdoor Camera CQ1 Wire-Free Solar Camera – Black Sleek black design meets advanced security. Solar-powered wireless monitoring w...
View full detailsOriginal price $99.99Original price $99.99Original price $99.99Current price $79.99$79.99 - $79.99Current price $79.99Summer Sale -
 Original price $24.99Original price$24.99$24.99 - $24.99Current price $24.99
Black Solar Panel SP for Wifi Camera Outdoor Charger Type-C
Solar Panel SP for Wifi Camera Outdoor Compatibility Our solar panel is designed specifically for DC 5V rechargeable battery cameras with micro USB...
View full detailsOriginal price $24.99Original price$24.99$24.99 - $24.99Current price $24.99 -
Original price $69.99Original price $69.99Original price $69.99Current price $59.99$59.99 - $59.99Current price $59.99
Wireless Camera CG6
Versatile Outdoor Camera Wireless Camera CG6 This versatile Outdoor Security Camera goes almost anywhere and lets you see what's happening outsi...
View full detailsOriginal price $69.99Original price $69.99Original price $69.99Current price $59.99$59.99 - $59.99Current price $59.99Summer Sale -
Original price $79.99Original price $79.99Original price $79.99Current price $69.99$69.99 - $69.99Current price $69.99
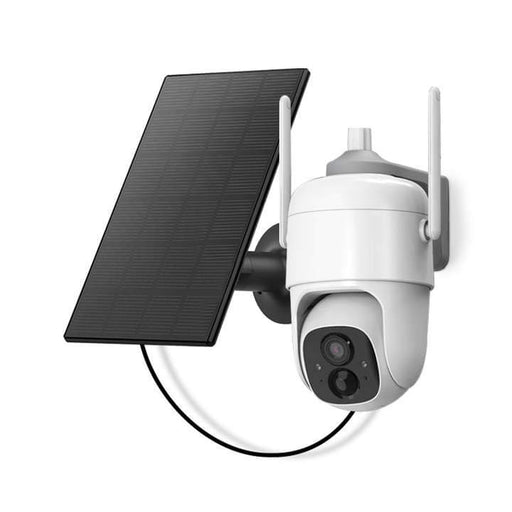
Wireless Camera X83/CG8 Solar Panel | White
Solar Powered Security Wireless Camera CG8 with Solar Panel An exceptional wireless camera with an included solar panel for enhanced conveni...
View full detailsOriginal price $79.99Original price $79.99Original price $79.99Current price $69.99$69.99 - $69.99Current price $69.99Summer Sale -
Original price $39.99Original price $39.99Original price $39.99Current price $29.99$29.99 - $29.99Current price $29.99
Camera CA48: Home 360 rotating 2K WiFi | VicoHome
CA48 Smart WiFi Camera Advanced home monitoring with 2K HD resolution, 355° panoramic rotation, infrared night vision, and seamless VicoHome app...
View full detailsOriginal price $39.99Original price $39.99Original price $39.99Current price $29.99$29.99 - $29.99Current price $29.99Summer Sale -
Original price $99.99Original price $99.99Original price $99.99Current price $79.99$79.99 - $79.99Current price $79.99
Wireless Camera CQ1 black - Solar panel
Outdoor Camera CQ1 Wire-Free Solar Camera – Black Sleek black design meets advanced security. Solar-powered wireless monitoring with 9000mAh bat...
View full detailsOriginal price $99.99Original price $99.99Original price $99.99Current price $79.99$79.99 - $79.99Current price $79.99Summer Sale -
Original price $89.99Original price $89.99Original price $89.99Current price $69.99$69.99 - $69.99Current price $69.99
Video Doorbell DB1: Secure Monitoring 2K, Wi-Fi, Night Vision | VicoHome
Essential Smart Doorbell Video Doorbell DB1 The essential smart doorbell with Full HD 1080p video, infrared night v...
View full detailsOriginal price $89.99Original price $89.99Original price $89.99Current price $69.99$69.99 - $69.99Current price $69.99Summer Sale -
Original price $54.99Original price $54.99Original price $54.99Current price $39.99$39.99 - $39.99Current price $39.99
Camera LB: Light Bulb 360 WiFi | VicoHome
LB Light Bulb WiFi Camera Discreet indoor monitoring hidden in plain sight. 2K HD resolution, 355° rotation, motion tracking, and seamless VicoH...
View full detailsOriginal price $54.99Original price $54.99Original price $54.99Current price $39.99$39.99 - $39.99Current price $39.99Summer Sale -
Original price $79.99Original price $79.99Original price $79.99Current price $69.99$69.99 - $69.99Current price $69.99
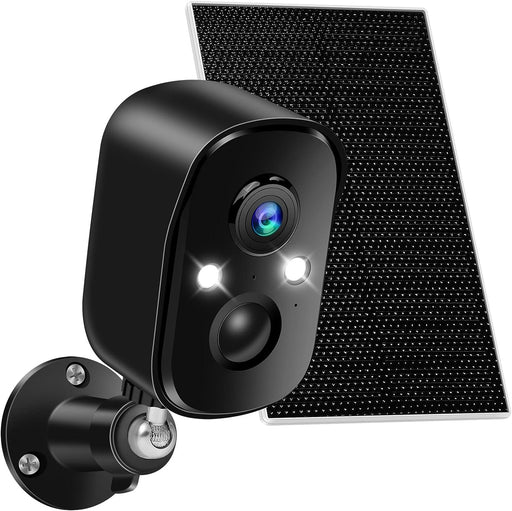
Wireless Camera CG6X/CG8 Solar Panel | Black
Solar Powered Security Wireless Camera CG8 with Solar Panel An exceptional wireless camera with an included solar p...
View full detailsOriginal price $79.99Original price $79.99Original price $79.99Current price $69.99$69.99 - $69.99Current price $69.99Summer Sale -
Original price $99.99Original price $99.99Original price $99.99Current price $79.99$79.99 - $79.99Current price $79.99
Video Doorbell DB2: Secure Monitoring 2K, Wi-Fi, Night Vision | VicoHome
Advanced Smart Doorbell Video Doorbell DB2 Never miss a visitor, package, or unexpected guest again. Know who's at your door anytime – day or ni...
View full detailsOriginal price $99.99Original price $99.99Original price $99.99Current price $79.99$79.99 - $79.99Current price $79.99Summer Sale -
Original price $149.99Original price $149.99Original price $149.99Current price $119.99$119.99 - $119.99Current price $119.99
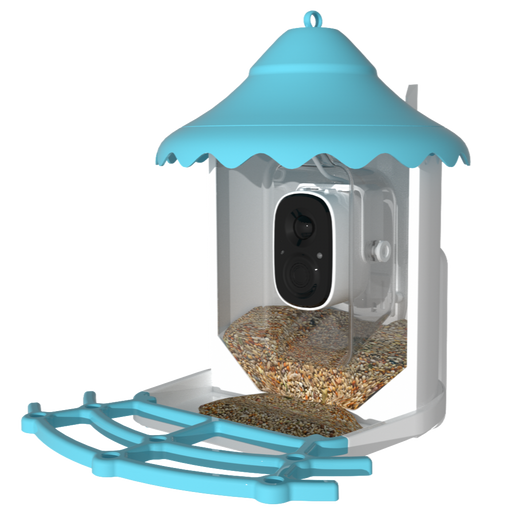
Smart Bird Feeder N002 Camera | solar panel
Smart Bird Feeder Camera N002 Bird Feeder Camera An exceptional wireless camera with an included solar panel for en...
View full detailsOriginal price $149.99Original price $149.99Original price $149.99Current price $119.99$119.99 - $119.99Current price $119.99Summer Sale -
Original price $39.99Original price $39.99Original price $39.99Current price $29.99$29.99 - $29.99Current price $29.99
Camera X11: Home 360 rotating 2K WiFi | VicoHome
X11 Smart WiFi Camera Your ultimate home security solution with 2K HD video, 360° coverage, AI motion tracking, and seamless app control. ...
View full detailsOriginal price $39.99Original price $39.99Original price $39.99Current price $29.99$29.99 - $29.99Current price $29.99Summer Sale -
Original price $69.99Original price $69.99Original price $69.99Current price $59.99$59.99 - $59.99Current price $59.99
Wireless Camera CG6 | Black
Versatile Outdoor Camera Wireless Camera CG6 This versatile Outdoor Security Camera goes almost anywhere and lets you see what's happening outsi...
View full detailsOriginal price $69.99Original price $69.99Original price $69.99Current price $59.99$59.99 - $59.99Current price $59.99Summer Sale -
Original price $89.99Original price $89.99Original price $89.99Current price $69.99$69.99 - $69.99Current price $69.99
Wireless Camera CQ1/X85B
Revolutionary WiFi Camera Wireless Camera CQ1 Revolutionary product from our wireless WiFi camera lineup - Wire-free Camera CQ1. It's an intelli...
View full detailsOriginal price $89.99Original price $89.99Original price $89.99Current price $69.99$69.99 - $69.99Current price $69.99Summer Sale -
Original price $154.99Original price $154.99Original price $154.99Current price $129.99$129.99 - $129.99Current price $129.99
Smart Bird Feeder Camera N007 | solar panel
Solar Powered Bird Feeder Smart Bird Feeder Camera N007 With Solar Panel Crafted from natural wood, this beautifully designed smart bird feeder ...
View full detailsOriginal price $154.99Original price $154.99Original price $154.99Current price $129.99$129.99 - $129.99Current price $129.99Summer Sale -
Original price $69.99Original price $69.99Original price $69.99Current price $59.99$59.99 - $59.99Current price $59.99
Wireless Camera CG9
Wireless WiFi Camera Model CG9 Product Features: Sensor: 1/2.8" CMOS Viewing Angle: 127° diagonally, 108° horizontally, 58° vertically Maxi...
View full detailsOriginal price $69.99Original price $69.99Original price $69.99Current price $59.99$59.99 - $59.99Current price $59.99Summer Sale -
Original price $49.99Original price $49.99Original price $49.99Current price $29.99$29.99 - $29.99Current price $29.99
Wired Camera PZL/CA42 | White
Home Use Camera with Rotating Field of View PZL Product Features: Sensor: 1/3" CMOS Field of View: 92° diagonal, 78° horizontal, 38° vertical Max...
View full detailsOriginal price $49.99Original price $49.99Original price $49.99Current price $29.99$29.99 - $29.99Current price $29.99Summer Sale -
Original price $69.99Original price $69.99Original price $69.99Current price $59.99$59.99 - $59.99Current price $59.99
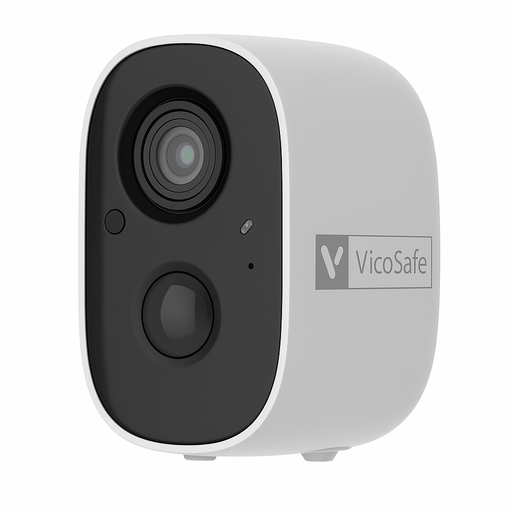
Wireless Camera BC1/V1
Wireless Camera BC1 Introducing the BC1 model - an outstanding wireless camera that offers superior video quality and a long-lasting battery. Weath...
View full detailsOriginal price $69.99Original price $69.99Original price $69.99Current price $59.99$59.99 - $59.99Current price $59.99Summer Sale -
Original price $49.99Original price $49.99Original price $49.99Current price $29.99$29.99 - $29.99Current price $29.99
Camera CB1: Home 360 rotating 2K WiFi wired | VicoHome
CB1 Smart WiFi Camera Modern home monitoring with sleek minimalist design, 2K HD resolution, 355° panoramic rotation, and seamless VicoHome app ...
View full detailsOriginal price $49.99Original price $49.99Original price $49.99Current price $29.99$29.99 - $29.99Current price $29.99Summer Sale -
Original price $49.99Original price $49.99Original price $49.99Current price $29.99$29.99 - $29.99Current price $29.99
Wired camera Wifi CK1
CK1 Wired Camera: Security, 2K Monitoring, Easy Installation, Intelligent AI Features Introducing the Wired Camera CK1, an innovative camera design...
View full detailsOriginal price $49.99Original price $49.99Original price $49.99Current price $29.99$29.99 - $29.99Current price $29.99Summer Sale -
Original price $79.99Original price $79.99Original price $79.99Current price $69.99$69.99 - $69.99Current price $69.99
Wireless Camera CG7
Wireless Camera CG7 Introducing the innovative wireless camera CG7 Model ST-G1, redefining the standards of home monitoring. With the latest 1/2.8-...
View full detailsOriginal price $79.99Original price $79.99Original price $79.99Current price $69.99$69.99 - $69.99Current price $69.99Summer Sale -
Original price $24.99Original price$24.99$24.99 - $24.99Current price $24.99
Black Solar Panel SP for Wifi Camera Outdoor Charger Type USB-Micro
Solar Panel SP for Wifi Camera Outdoor Compatibility Our solar panel is designed specifically for DC 5V rechargeable battery cameras with micro USB...
View full detailsOriginal price $24.99Original price$24.99$24.99 - $24.99Current price $24.99 -
Original price $69.99Original price $69.99Original price $69.99Current price $59.99$59.99 - $59.99Current price $59.99
Wireless Camera X71
Wireless Camera X71 – The Smart Choice for Home Security Introducing the VicoHome X71 Smart WiFi Camera, the ultimate solution for modern home secu...
View full detailsOriginal price $69.99Original price $69.99Original price $69.99Current price $59.99$59.99 - $59.99Current price $59.99Summer Sale -
Original price $79.99Original price $79.99Original price $79.99Current price $64.99$64.99 - $64.99Current price $64.99
Wireless Camera X81
Wireless Camera X81 Experience smarter home security with our advanced WiFi camera. Featuring AI-powered Cloud technology, it delivers intelligent ...
View full detailsOriginal price $79.99Original price $79.99Original price $79.99Current price $64.99$64.99 - $64.99Current price $64.99Summer Sale -
Original price $49.99Original price $49.99Original price $49.99Current price $39.99$39.99 - $39.99Current price $39.99
Smart Window Bird Feeder X22
Transparent Window-Mount Design Smart Window Bird Feeder – Clear View Birdwatching Experience nature up close – right from your window. This tra...
View full detailsOriginal price $49.99Original price $49.99Original price $49.99Current price $39.99$39.99 - $39.99Current price $39.99Summer Sale