How to Install and Set Up Your WiFi Video Doorbell: A Step-by-Step Guide
Installing a WiFi video doorbell is one of the most effective ways to enhance your home’s security and convenience. Whether you’re tech-savvy or a complete beginner, this step-by-step guide will walk you through the installation and setup process, ensuring your video doorbell is up and running in no time.
Step 1: Gather Your Tools and Equipment
Before you begin the installation, make sure you have all the necessary tools and equipment on hand. Most WiFi video doorbells come with the required mounting hardware, but you’ll likely need a few additional items:
- A drill with appropriate drill bits
- A screwdriver (often provided with the doorbell kit)
- A level to ensure the doorbell is mounted straight
- A pencil for marking drill holes
- Anchors (if mounting on brick, concrete, or stucco)
- Your smartphone or tablet for setup
Step 2: Choose the Optimal Location
Choosing the right location for your video doorbell is crucial for ensuring it captures clear footage and provides effective coverage. Here are a few tips:
-
Height: Install the doorbell at a height of about 48 inches (4 feet) from the ground. This height is optimal for capturing a clear view of visitors’ faces.
-
Field of View: Make sure the camera has an unobstructed view of your front porch and surrounding areas. Avoid placing it too close to walls or other objects that could block its view.
-
WiFi Signal: Ensure the doorbell is within range of your WiFi router. If the signal is weak, consider using a WiFi extender to improve connectivity.
Step 3: Turn Off Power to Your Existing Doorbell (if applicable)
If you’re replacing an existing wired doorbell, it’s essential to turn off the power to the doorbell circuit before you start working. This step is crucial to ensure your safety:
- Locate the circuit breaker that controls the power to your doorbell.
- Turn off the circuit to avoid any electrical hazards during the installation.
- Double-check that the power is off by pressing the doorbell button; there should be no sound.
Step 4: Install the Mounting Bracket
Once you’ve chosen the location and ensured the power is off, it’s time to install the mounting bracket:
-
Mark the Drill Holes: Hold the mounting bracket against the wall where you want to install the doorbell. Use a pencil to mark the drill holes through the bracket’s screw holes.
-
Drill the Holes: Use the appropriate drill bit to drill holes where you marked. If you’re installing the doorbell on brick, concrete, or stucco, you may need to use anchors to secure the screws.
-
Attach the Bracket: Align the mounting bracket with the drilled holes and use the screws provided to attach it to the wall. Use a level to ensure the bracket is straight before fully tightening the screws.
Step 5: Connect the Wiring (if applicable)
If you’re installing a wired video doorbell, the next step is to connect the wiring:
-
Attach the Wires: Connect the existing doorbell wires to the terminals on the back of the video doorbell. Usually, this involves loosening the terminal screws, placing the wires underneath, and tightening the screws back down.
-
Check the Connections: Ensure the wires are securely connected and not touching each other. Tuck any excess wire back into the wall.
-
Attach the Doorbell: Once the wires are connected, attach the video doorbell to the mounting bracket. This often involves snapping or screwing the doorbell into place.
Step 6: Turn On Power and Test the Doorbell
After installing the doorbell, it’s time to turn the power back on:
- Go back to your circuit breaker and turn the power back on.
- Test the doorbell by pressing the button to ensure it rings properly and that the video feed is active.
If your doorbell is battery-powered, make sure the battery is fully charged before proceeding to the next step.
Step 7: Set Up the Doorbell in the App
The final step in the installation process is setting up your video doorbell in its companion app:
-
Download the App: If you haven’t already, download the doorbell’s companion app on your smartphone or tablet. This app is typically available in both the Apple App Store and Google Play Store.
-
Create an Account: Open the app and create an account if you don’t already have one.
-
Add the Doorbell: Follow the on-screen instructions to add your new video doorbell. This usually involves scanning a QR code on the doorbell, connecting it to your WiFi network, and configuring settings like motion detection and alerts.
-
Test the Features: Once setup is complete, test the doorbell’s features, such as live video feed, two-way audio, motion detection, and notifications.
Conclusion
Installing and setting up a WiFi video doorbell is a straightforward process that can be completed in a few simple steps. By following this guide, you’ll ensure that your doorbell is properly installed, providing you with enhanced security and convenience for your home.
Ready to protect your home with a WiFi video doorbell? Explore our range of video doorbells at VicoSafe.com and find the perfect solution for your home. With the right installation and setup, you can enjoy peace of mind knowing your home is secure.
-
Original price $99.99Original price $99.99Original price $99.99Current price $79.99$79.99 - $79.99Current price $79.99
Wireless Camera CQ1 - Solar panel
Outdoor Camera CQ1 Wire-Free Solar Camera – Black Sleek black design meets advanced security. Solar-powered wireless monitoring w...
View full detailsOriginal price $99.99Original price $99.99Original price $99.99Current price $79.99$79.99 - $79.99Current price $79.99Summer Sale -
 Original price $24.99Original price$24.99$24.99 - $24.99Current price $24.99
Black Solar Panel SP for Wifi Camera Outdoor Charger Type-C
Solar Panel SP for Wifi Camera Outdoor Compatibility Our solar panel is designed specifically for DC 5V rechargeable battery cameras with micro USB...
View full detailsOriginal price $24.99Original price$24.99$24.99 - $24.99Current price $24.99 -
Original price $69.99Original price $69.99Original price $69.99Current price $59.99$59.99 - $59.99Current price $59.99
Wireless Camera CG6
Versatile Outdoor Camera Wireless Camera CG6 This versatile Outdoor Security Camera goes almost anywhere and lets you see what's happening outsi...
View full detailsOriginal price $69.99Original price $69.99Original price $69.99Current price $59.99$59.99 - $59.99Current price $59.99Summer Sale -
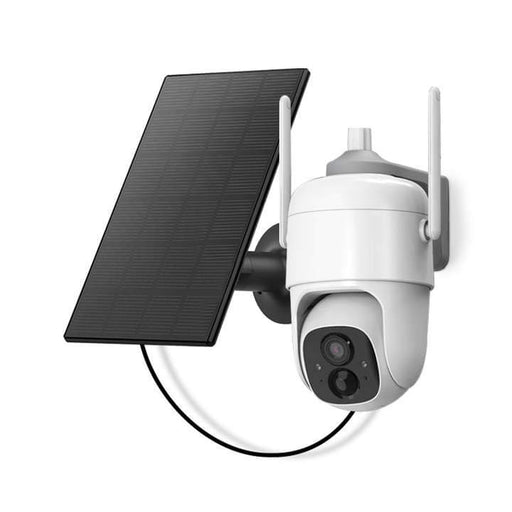
Original price $79.99Original price $79.99Original price $79.99Current price $69.99$69.99 - $69.99Current price $69.99
Wireless Camera X83/CG8 Solar Panel | White
Solar Powered Security Wireless Camera CG8 with Solar Panel An exceptional wireless camera with an included solar panel for enhanced conveni...
View full detailsOriginal price $79.99Original price $79.99Original price $79.99Current price $69.99$69.99 - $69.99Current price $69.99Summer Sale -
Original price $39.99Original price $39.99Original price $39.99Current price $29.99$29.99 - $29.99Current price $29.99
Camera CA48: Home 360 rotating 2K WiFi | VicoHome
CA48 Smart WiFi Camera Advanced home monitoring with 2K HD resolution, 355° panoramic rotation, infrared night vision, and seamless VicoHome app...
View full detailsOriginal price $39.99Original price $39.99Original price $39.99Current price $29.99$29.99 - $29.99Current price $29.99Summer Sale -
Original price $99.99Original price $99.99Original price $99.99Current price $79.99$79.99 - $79.99Current price $79.99
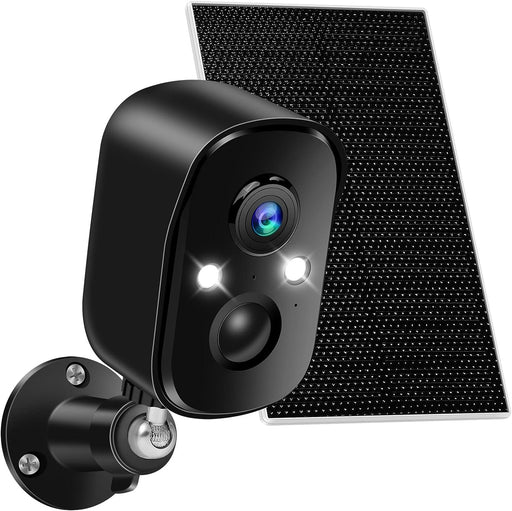
Wireless Camera CQ1 black - Solar panel
Outdoor Camera CQ1 Wire-Free Solar Camera – Black Sleek black design meets advanced security. Solar-powered wireless monitoring with 9000mAh bat...
View full detailsOriginal price $99.99Original price $99.99Original price $99.99Current price $79.99$79.99 - $79.99Current price $79.99Summer Sale -
Original price $89.99Original price $89.99Original price $89.99Current price $69.99$69.99 - $69.99Current price $69.99
Video Doorbell DB1: Secure Monitoring 2K, Wi-Fi, Night Vision | VicoHome
Essential Smart Doorbell Video Doorbell DB1 The essential smart doorbell with Full HD 1080p video, infrared night v...
View full detailsOriginal price $89.99Original price $89.99Original price $89.99Current price $69.99$69.99 - $69.99Current price $69.99Summer Sale -
Original price $54.99Original price $54.99Original price $54.99Current price $39.99$39.99 - $39.99Current price $39.99
Camera LB: Light Bulb 360 WiFi | VicoHome
LB Light Bulb WiFi Camera Discreet indoor monitoring hidden in plain sight. 2K HD resolution, 355° rotation, motion tracking, and seamless VicoH...
View full detailsOriginal price $54.99Original price $54.99Original price $54.99Current price $39.99$39.99 - $39.99Current price $39.99Summer Sale -
Original price $79.99Original price $79.99Original price $79.99Current price $69.99$69.99 - $69.99Current price $69.99
Wireless Camera CG6X/CG8 Solar Panel | Black
Solar Powered Security Wireless Camera CG8 with Solar Panel An exceptional wireless camera with an included solar p...
View full detailsOriginal price $79.99Original price $79.99Original price $79.99Current price $69.99$69.99 - $69.99Current price $69.99Summer Sale -
Original price $99.99Original price $99.99Original price $99.99Current price $79.99$79.99 - $79.99Current price $79.99
Video Doorbell DB2: Secure Monitoring 2K, Wi-Fi, Night Vision | VicoHome
Advanced Smart Doorbell Video Doorbell DB2 Never miss a visitor, package, or unexpected guest again. Know who's at your door anytime – day or ni...
View full detailsOriginal price $99.99Original price $99.99Original price $99.99Current price $79.99$79.99 - $79.99Current price $79.99Summer Sale -
Original price $149.99Original price $149.99Original price $149.99Current price $119.99$119.99 - $119.99Current price $119.99
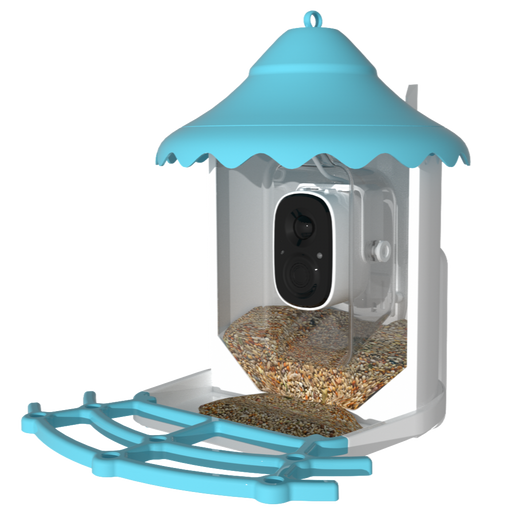
Smart Bird Feeder N002 Camera | solar panel
Smart Bird Feeder Camera N002 Bird Feeder Camera An exceptional wireless camera with an included solar panel for en...
View full detailsOriginal price $149.99Original price $149.99Original price $149.99Current price $119.99$119.99 - $119.99Current price $119.99Summer Sale -
Original price $39.99Original price $39.99Original price $39.99Current price $29.99$29.99 - $29.99Current price $29.99
Camera X11: Home 360 rotating 2K WiFi | VicoHome
X11 Smart WiFi Camera Your ultimate home security solution with 2K HD video, 360° coverage, AI motion tracking, and seamless app control. ...
View full detailsOriginal price $39.99Original price $39.99Original price $39.99Current price $29.99$29.99 - $29.99Current price $29.99Summer Sale -
Original price $69.99Original price $69.99Original price $69.99Current price $59.99$59.99 - $59.99Current price $59.99
Wireless Camera CG6 | Black
Versatile Outdoor Camera Wireless Camera CG6 This versatile Outdoor Security Camera goes almost anywhere and lets you see what's happening outsi...
View full detailsOriginal price $69.99Original price $69.99Original price $69.99Current price $59.99$59.99 - $59.99Current price $59.99Summer Sale -
Original price $89.99Original price $89.99Original price $89.99Current price $69.99$69.99 - $69.99Current price $69.99
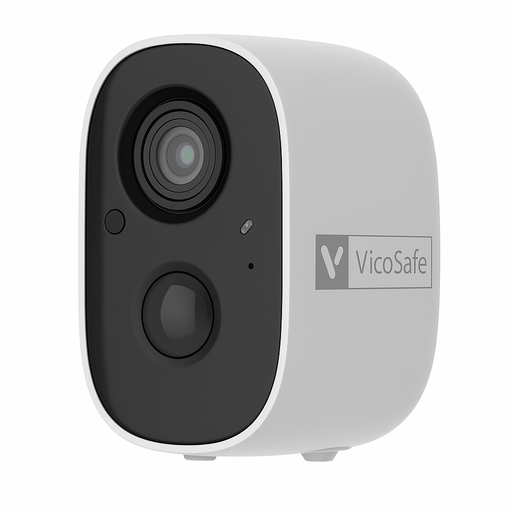
Wireless Camera CQ1/X85B
Revolutionary WiFi Camera Wireless Camera CQ1 Revolutionary product from our wireless WiFi camera lineup - Wire-free Camera CQ1. It's an intelli...
View full detailsOriginal price $89.99Original price $89.99Original price $89.99Current price $69.99$69.99 - $69.99Current price $69.99Summer Sale -
Original price $154.99Original price $154.99Original price $154.99Current price $129.99$129.99 - $129.99Current price $129.99
Smart Bird Feeder Camera N007 | solar panel
Solar Powered Bird Feeder Smart Bird Feeder Camera N007 With Solar Panel Crafted from natural wood, this beautifully designed smart bird feeder ...
View full detailsOriginal price $154.99Original price $154.99Original price $154.99Current price $129.99$129.99 - $129.99Current price $129.99Summer Sale -
Original price $69.99Original price $69.99Original price $69.99Current price $59.99$59.99 - $59.99Current price $59.99
Wireless Camera CG9
Wireless WiFi Camera Model CG9 Product Features: Sensor: 1/2.8" CMOS Viewing Angle: 127° diagonally, 108° horizontally, 58° vertically Maxi...
View full detailsOriginal price $69.99Original price $69.99Original price $69.99Current price $59.99$59.99 - $59.99Current price $59.99Summer Sale -
Original price $49.99Original price $49.99Original price $49.99Current price $29.99$29.99 - $29.99Current price $29.99
Wired Camera PZL/CA42 | White
Home Use Camera with Rotating Field of View PZL Product Features: Sensor: 1/3" CMOS Field of View: 92° diagonal, 78° horizontal, 38° vertical Max...
View full detailsOriginal price $49.99Original price $49.99Original price $49.99Current price $29.99$29.99 - $29.99Current price $29.99Summer Sale -
Original price $69.99Original price $69.99Original price $69.99Current price $59.99$59.99 - $59.99Current price $59.99
Wireless Camera BC1/V1
Wireless Camera BC1 Introducing the BC1 model - an outstanding wireless camera that offers superior video quality and a long-lasting battery. Weath...
View full detailsOriginal price $69.99Original price $69.99Original price $69.99Current price $59.99$59.99 - $59.99Current price $59.99Summer Sale -
Original price $49.99Original price $49.99Original price $49.99Current price $29.99$29.99 - $29.99Current price $29.99
Camera CB1: Home 360 rotating 2K WiFi wired | VicoHome
CB1 Smart WiFi Camera Modern home monitoring with sleek minimalist design, 2K HD resolution, 355° panoramic rotation, and seamless VicoHome app ...
View full detailsOriginal price $49.99Original price $49.99Original price $49.99Current price $29.99$29.99 - $29.99Current price $29.99Summer Sale -
Original price $49.99Original price $49.99Original price $49.99Current price $29.99$29.99 - $29.99Current price $29.99
Wired camera Wifi CK1
CK1 Wired Camera: Security, 2K Monitoring, Easy Installation, Intelligent AI Features Introducing the Wired Camera CK1, an innovative camera design...
View full detailsOriginal price $49.99Original price $49.99Original price $49.99Current price $29.99$29.99 - $29.99Current price $29.99Summer Sale -
Original price $79.99Original price $79.99Original price $79.99Current price $69.99$69.99 - $69.99Current price $69.99
Wireless Camera CG7
Wireless Camera CG7 Introducing the innovative wireless camera CG7 Model ST-G1, redefining the standards of home monitoring. With the latest 1/2.8-...
View full detailsOriginal price $79.99Original price $79.99Original price $79.99Current price $69.99$69.99 - $69.99Current price $69.99Summer Sale -
Original price $24.99Original price$24.99$24.99 - $24.99Current price $24.99
Black Solar Panel SP for Wifi Camera Outdoor Charger Type USB-Micro
Solar Panel SP for Wifi Camera Outdoor Compatibility Our solar panel is designed specifically for DC 5V rechargeable battery cameras with micro USB...
View full detailsOriginal price $24.99Original price$24.99$24.99 - $24.99Current price $24.99 -
Original price $69.99Original price $69.99Original price $69.99Current price $59.99$59.99 - $59.99Current price $59.99
Wireless Camera X71
Wireless Camera X71 – The Smart Choice for Home Security Introducing the VicoHome X71 Smart WiFi Camera, the ultimate solution for modern home secu...
View full detailsOriginal price $69.99Original price $69.99Original price $69.99Current price $59.99$59.99 - $59.99Current price $59.99Summer Sale -
Original price $79.99Original price $79.99Original price $79.99Current price $64.99$64.99 - $64.99Current price $64.99
Wireless Camera X81
Wireless Camera X81 Experience smarter home security with our advanced WiFi camera. Featuring AI-powered Cloud technology, it delivers intelligent ...
View full detailsOriginal price $79.99Original price $79.99Original price $79.99Current price $64.99$64.99 - $64.99Current price $64.99Summer Sale -
Original price $154.99Original price $154.99Original price $154.99Current price $129.99$129.99 - $129.99Current price $129.99
Smart Bird Feeder Camera G02 | solar panel
Solar Powered Bird Feeder Smart Bird Feeder Camera G02 Transform your garden into a bird sanctuary. This smart came...
View full detailsOriginal price $154.99Original price $154.99Original price $154.99Current price $129.99$129.99 - $129.99Current price $129.99Summer Sale