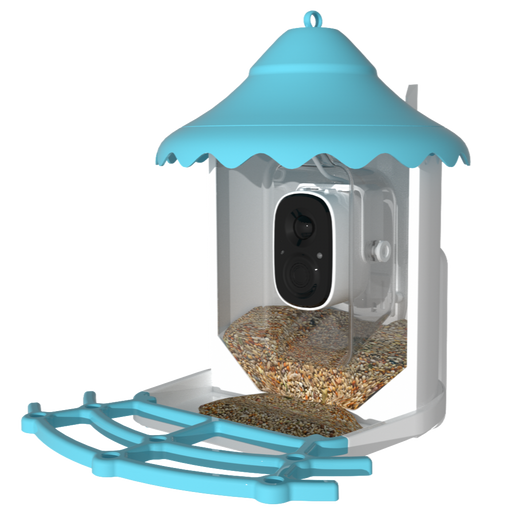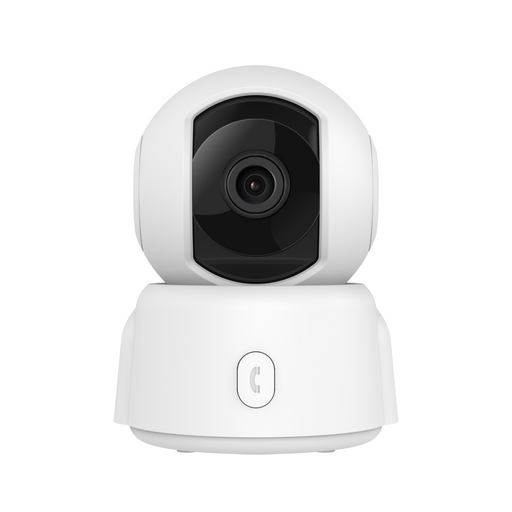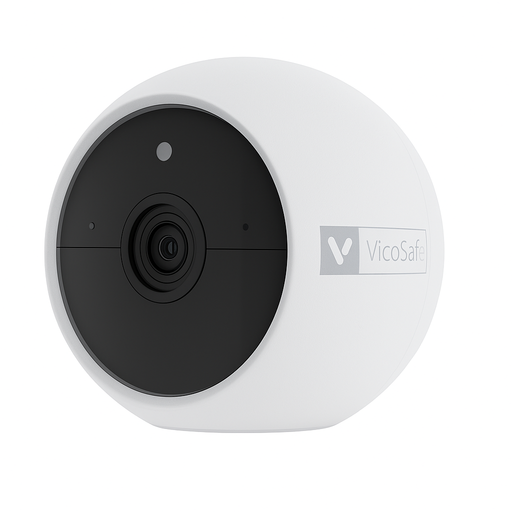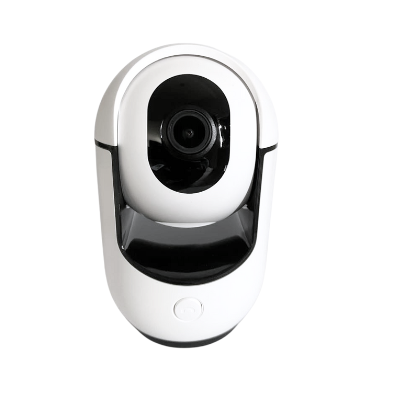
Ultimate Setup Guide: Maximizing Your Home Security with the VicoHome-Compatible Video Camera
In the digital age, ensuring the security of your home is more important than ever. With advancements in smart home technology, video cameras have become a pivotal tool in monitoring and safeguarding our living spaces. The integration of these cameras with apps like VicoHome has further revolutionized the way we approach home security. This guide is designed to help you maximize your home security by providing a step-by-step setup for your VicoHome-compatible video camera.
Step 1: Unboxing and Getting to Know Your Camera
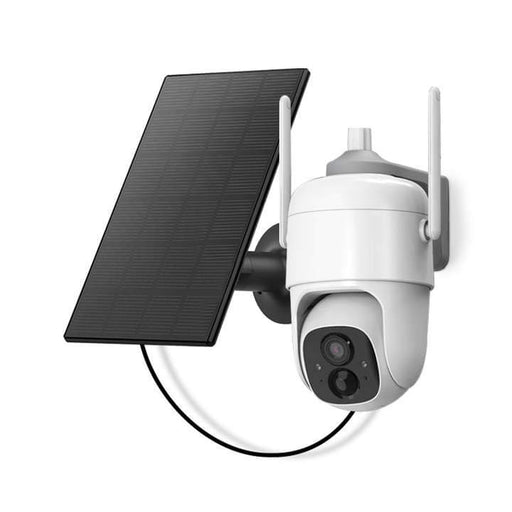
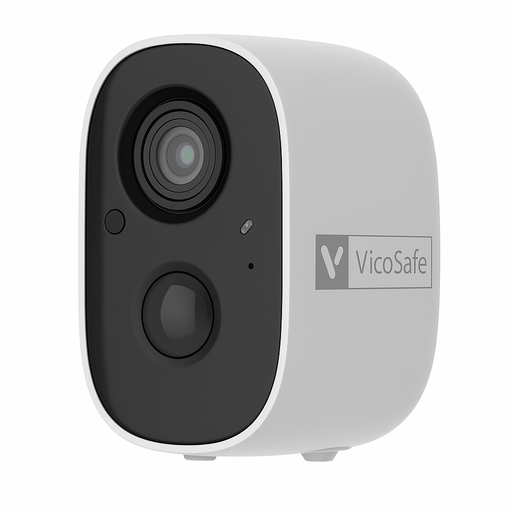
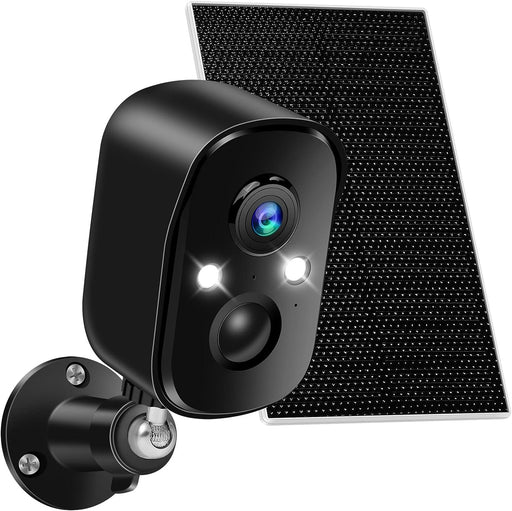
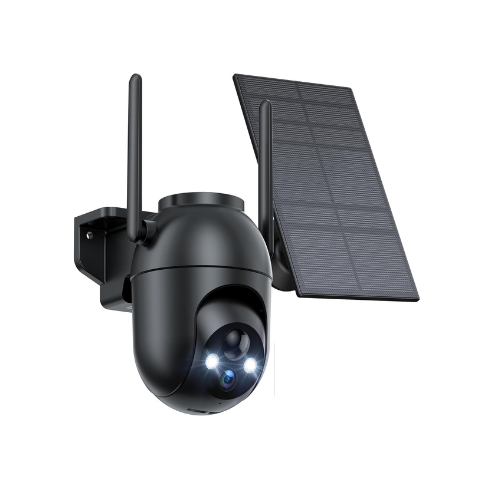
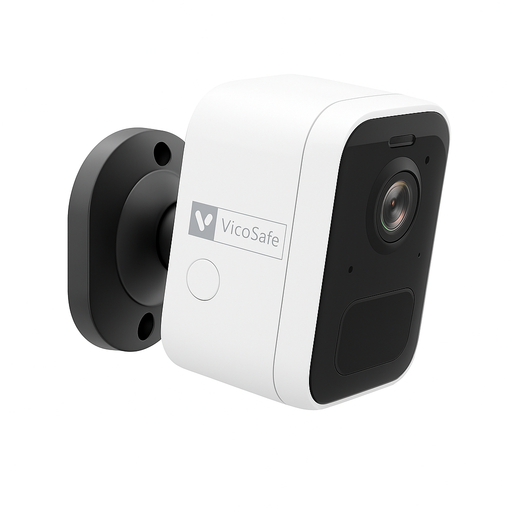
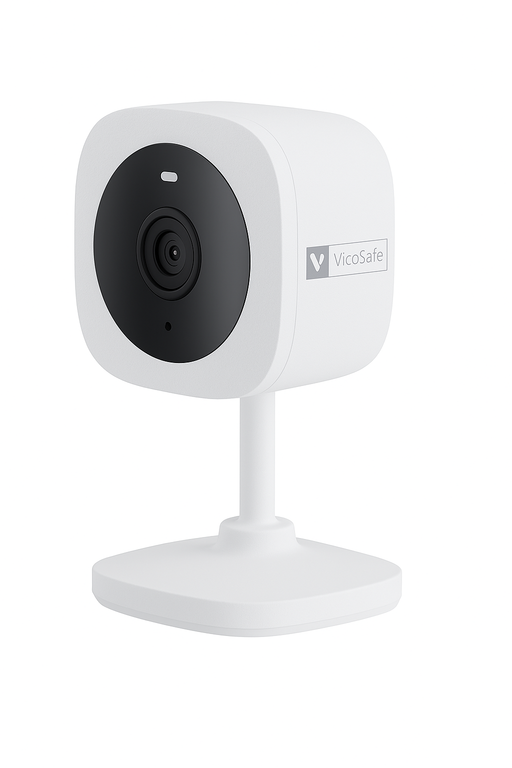
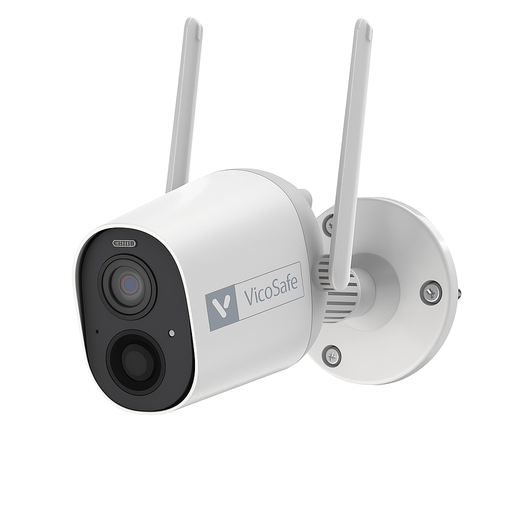
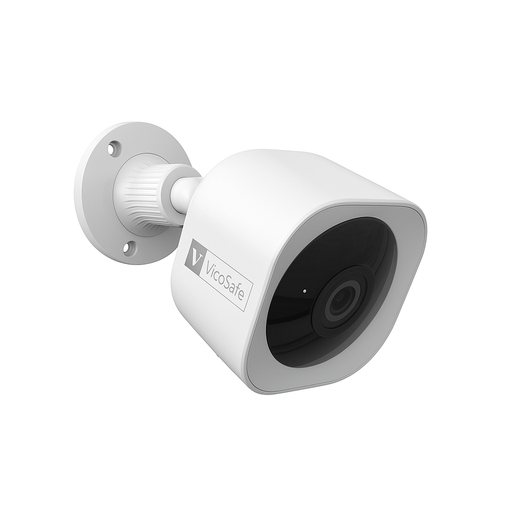
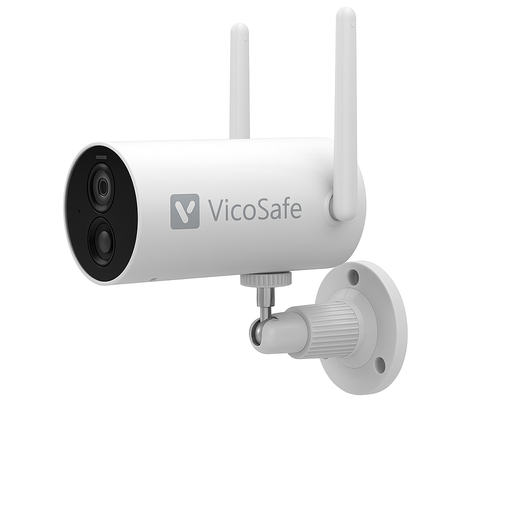
Begin by carefully unboxing your video camera. Inside, you should find the camera itself, a power adapter, mounting hardware, and a setup guide. Take a moment to familiarize yourself with the camera's features, such as its lens, microphone, power connection, and any physical installation requirements.
Step 2: Installing the VicoHome App
To get started, download the VicoHome app from the App Store or Google Play Store. This app will serve as the central hub for your video camera, allowing you to view live footage, receive alerts, and customize your settings. Once installed, create an account or log in to proceed.
Step 3: Connecting Your Camera to the App
Power on your camera and ensure your smartphone is connected to your Wi-Fi network. Open the VicoHome app and select the option to add a new device. Follow the in-app instructions to connect your camera to your Wi-Fi network. This typically involves scanning a QR code displayed on your camera or manually entering your camera's model number.
Step 4: Positioning and Mounting Your Camera
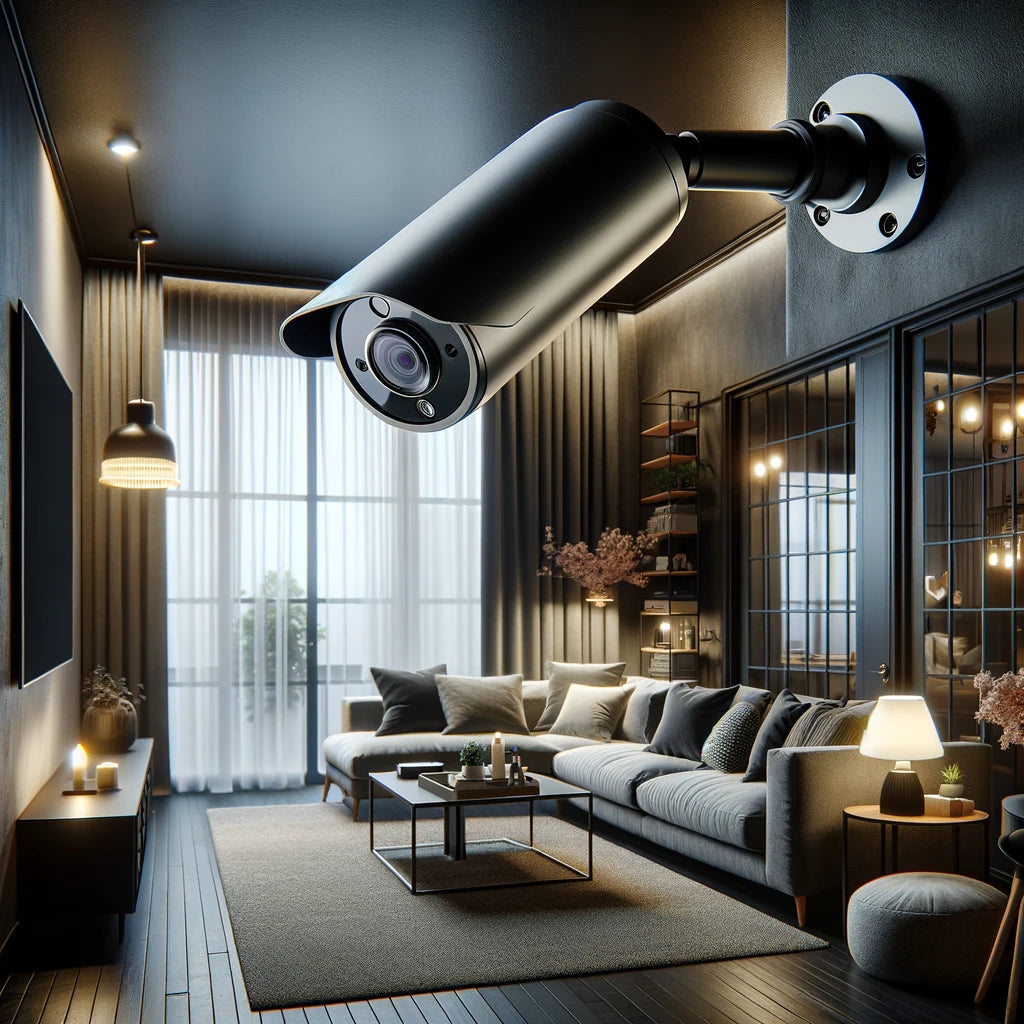
Choosing the right location for your camera is crucial for effective surveillance. Consider high-traffic areas, points of entry, and any spots where intruders are likely to be detected. Ensure the camera is placed out of reach to avoid tampering and has a clear view of the area you wish to monitor. Follow the mounting instructions provided with your camera, using the hardware included in the box.
Step 5: Customizing Your Settings
Once your camera is mounted and connected, dive into the VicoHome app to customize your settings. You can adjust the sensitivity of motion detection, set up specific zones for monitoring, and configure alert preferences. Take advantage of features like night vision, two-way audio, and cloud storage options to enhance your security setup.
Step 6: Regular Maintenance and Updates
To ensure your video camera continues to function optimally, regularly check for and install any firmware updates through the VicoHome app. Clean your camera lens periodically to maintain clear image quality, and test your setup to ensure all components are working as expected.
Conclusion
Setting up your VicoHome-compatible video camera is a straightforward process that can significantly enhance the security of your home. By following this guide, you'll not only maximize the potential of your video surveillance system but also gain peace of mind knowing your home is more secure. Remember, the key to effective home security is not just in the technology itself, but in how you use it.
-
Original price $24.99Original price$24.99$24.99 - $24.99Current price $24.99
Solar Panel SP for Wifi Camera Outdoor Charger Type-C
Solar Panel SP for Wifi Camera Outdoor Compatibility Our solar panel is designed specifically for DC 5V rechargeable battery cameras with micro USB...
View full detailsOriginal price $24.99Original price$24.99$24.99 - $24.99Current price $24.99 -
Original price $99.99Original price $99.99Original price $99.99Current price $79.99$79.99 - $79.99Current price $79.99
Wireless Camera CQ1 - Solar panel
Outdoor Camera CQ1 Wire-Free Solar Camera – Black Sleek black design meets advanced security. Solar-powered wireless monitoring w...
View full detailsOriginal price $99.99Original price $99.99Original price $99.99Current price $79.99$79.99 - $79.99Current price $79.99Winter Sale -
Original price $69.99Original price $69.99Original price $69.99Current price $59.99$59.99 - $59.99Current price $59.99
Wireless Camera CG6
Versatile Outdoor Camera Wireless Camera CG6 This versatile Outdoor Security Camera goes almost anywhere and lets y...
View full detailsOriginal price $69.99Original price $69.99Original price $69.99Current price $59.99$59.99 - $59.99Current price $59.99Winter Sale -
Original price $79.99Original price $79.99Original price $79.99Current price $69.99$69.99 - $69.99Current price $69.99
Wireless Camera CG6X/CG8 Solar Panel | White
Solar Powered Security Wireless Camera CG8 with Solar Panel An exceptional wireless camera with an included solar p...
View full detailsOriginal price $79.99Original price $79.99Original price $79.99Current price $69.99$69.99 - $69.99Current price $69.99Winter Sale -
Original price $39.99Original price $39.99Original price $39.99Current price $29.99$29.99 - $29.99Current price $29.99
Camera CA48: Home 360 rotating 2K WiFi | VicoHome
CA48 Smart WiFi Camera Advanced home monitoring with 2K HD resolution, 355° panoramic rotation, infrared night vision, and ...
View full detailsOriginal price $39.99Original price $39.99Original price $39.99Current price $29.99$29.99 - $29.99Current price $29.99Temporarily Out. -
Original price $89.99Original price $89.99Original price $89.99Current price $69.99$69.99 - $69.99Current price $69.99
Video Doorbell DB1: Secure Monitoring 2K, Wi-Fi, Night Vision | VicoHome
Essential Smart Doorbell Video Doorbell DB1 The essential smart doorbell with Full HD 1080p video, infrared night v...
View full detailsOriginal price $89.99Original price $89.99Original price $89.99Current price $69.99$69.99 - $69.99Current price $69.99Winter Sale -
Original price $54.99Original price $54.99Original price $54.99Current price $39.99$39.99 - $39.99Current price $39.99
Camera LB: Light Bulb 360 WiFi | VicoHome
LB Light Bulb WiFi Camera Discreet indoor monitoring hidden in plain sight. 2K HD resolution, 355° rotation, motion trackin...
View full detailsOriginal price $54.99Original price $54.99Original price $54.99Current price $39.99$39.99 - $39.99Current price $39.99Winter Sale -
Original price $79.99Original price $79.99Original price $79.99Current price $69.99$69.99 - $69.99Current price $69.99
Wireless Camera CG6X/CG8 Solar Panel | Black
Solar Powered Security Wireless Camera CG8 with Solar Panel An exceptional wireless camera with an included solar p...
View full detailsOriginal price $79.99Original price $79.99Original price $79.99Current price $69.99$69.99 - $69.99Current price $69.99Winter Sale -
Original price $99.99Original price $99.99Original price $99.99Current price $79.99$79.99 - $79.99Current price $79.99
Wireless Camera CQ1 black - Solar panel
Outdoor Camera CQ1 Wire-Free Solar Camera – Black Sleek black design meets advanced security. Solar-powered wireless monitoring w...
View full detailsOriginal price $99.99Original price $99.99Original price $99.99Current price $79.99$79.99 - $79.99Current price $79.99Winter Sale -
Original price $99.99Original price $99.99Original price $99.99Current price $79.99$79.99 - $79.99Current price $79.99
Video Doorbell DB2: Secure Monitoring 2K, Wi-Fi, Night Vision | VicoHome
Advanced Smart Doorbell Video Doorbell DB2 Never miss a visitor, package, or unexpected guest again. Know who's at your door anytime – day or ni...
View full detailsOriginal price $99.99Original price $99.99Original price $99.99Current price $79.99$79.99 - $79.99Current price $79.99Winter Sale -
Original price $149.99Original price $149.99Original price $149.99Current price $119.99$119.99 - $119.99Current price $119.99
Smart Bird Feeder N002 Camera | solar panel
Smart Bird Feeder Camera N002 Bird Feeder Camera An exceptional wireless camera with an included solar panel for en...
View full detailsOriginal price $149.99Original price $149.99Original price $149.99Current price $119.99$119.99 - $119.99Current price $119.99Winter Sale -
Original price $39.99Original price $39.99Original price $39.99Current price $29.99$29.99 - $29.99Current price $29.99
Camera X11: Home 360 rotating 2K WiFi | VicoHome
X11 Smart WiFi Camera Your ultimate home security solution with 2K HD video, 360° coverage, AI motion tracking, and seamless app ...
View full detailsOriginal price $39.99Original price $39.99Original price $39.99Current price $29.99$29.99 - $29.99Current price $29.99Winter Sale -
Original price $89.99Original price $89.99Original price $89.99Current price $69.99$69.99 - $69.99Current price $69.99
Wireless Camera CQ1/X85
Revolutionary WiFi Camera Wireless Camera CQ1 Revolutionary product from our wireless WiFi camera lineup - Wire-fre...
View full detailsOriginal price $89.99Original price $89.99Original price $89.99Current price $69.99$69.99 - $69.99Current price $69.99Winter Sale -
Original price $69.99Original price $69.99Original price $69.99Current price $59.99$59.99 - $59.99Current price $59.99
Wireless Camera CG6 | Black
Versatile Outdoor Camera Wireless Camera CG6 This versatile Outdoor Security Camera goes almost anywhere and lets y...
View full detailsOriginal price $69.99Original price $69.99Original price $69.99Current price $59.99$59.99 - $59.99Current price $59.99Winter Sale -
Original price $154.99Original price $154.99Original price $154.99Current price $139.99$139.99 - $139.99Current price $139.99
Smart Bird Feeder Camera N007 | solar panel
Solar Powered Bird Feeder Smart Bird Feeder Camera N007 With Solar Panel Crafted from natural wood, this beautifully designed smart bird feeder ...
View full detailsOriginal price $154.99Original price $154.99Original price $154.99Current price $139.99$139.99 - $139.99Current price $139.99Winter Sale -
Original price $69.99Original price $69.99Original price $69.99Current price $59.99$59.99 - $59.99Current price $59.99
Wireless Camera CG9
Wireless WiFi Camera Model CG9 Product Features: Sensor: 1/2.8" CMOS Viewing Angle: 127° diagonally, 108° horizontally, 58° vertically Maxi...
View full detailsOriginal price $69.99Original price $69.99Original price $69.99Current price $59.99$59.99 - $59.99Current price $59.99Temporarily Out. -
Original price $49.99Original price $49.99Original price $49.99Current price $29.99$29.99 - $29.99Current price $29.99
Wired Camera PZL/CA42 | White
Home Use Camera with Rotating Field of View PZL Product Features: Sensor: 1/3" CMOS Field of View: 92° diagonal, 78° horizontal, 38° vertical Max...
View full detailsOriginal price $49.99Original price $49.99Original price $49.99Current price $29.99$29.99 - $29.99Current price $29.99Winter Sale -
Original price $69.99Original price $69.99Original price $69.99Current price $59.99$59.99 - $59.99Current price $59.99
Wireless Camera BC1
Wireless Camera BC1 Introducing the BC1 model - an outstanding wireless camera that offers superior video quality and a long-lasting battery. Weath...
View full detailsOriginal price $69.99Original price $69.99Original price $69.99Current price $59.99$59.99 - $59.99Current price $59.99Winter Sale -
Original price $49.99Original price $49.99Original price $49.99Current price $29.99$29.99 - $29.99Current price $29.99
Camera CB1: Home 360 rotating 2K WiFi wired | VicoHome
CB1 Smart WiFi Camera Modern home monitoring with sleek minimalist design, 2K HD resolution, 355° panoramic rotation, and se...
View full detailsOriginal price $49.99Original price $49.99Original price $49.99Current price $29.99$29.99 - $29.99Current price $29.99Winter Sale -
Original price $49.99Original price $49.99Original price $49.99Current price $29.99$29.99 - $29.99Current price $29.99
Wired camera Wifi CK1
CK1 Wired Camera: Security, 2K Monitoring, Easy Installation, Intelligent AI Features Introducing the Wired Camera CK1, an innovative camera design...
View full detailsOriginal price $49.99Original price $49.99Original price $49.99Current price $29.99$29.99 - $29.99Current price $29.99Winter Sale -
Original price $79.99Original price $79.99Original price $79.99Current price $69.99$69.99 - $69.99Current price $69.99
Wireless Camera CG7
Wireless Camera CG7 Introducing the innovative wireless camera CG7 Model ST-G1, redefining the standards of home monitoring. With the latest 1/2.8-...
View full detailsOriginal price $79.99Original price $79.99Original price $79.99Current price $69.99$69.99 - $69.99Current price $69.99Winter Sale -
Original price $24.99Original price$24.99$24.99 - $24.99Current price $24.99
Solar Panel SP for Wifi Camera Outdoor Charger Type USB-Micro
Solar Panel SP for Wifi Camera Outdoor Compatibility Our solar panel is designed specifically for DC 5V rechargeable battery cameras with micro USB...
View full detailsOriginal price $24.99Original price$24.99$24.99 - $24.99Current price $24.99 -
Original price $69.99Original price $69.99Original price $69.99Current price $59.99$59.99 - $59.99Current price $59.99
Wireless Camera X71
Wireless Camera X71 – The Smart Choice for Home Security Introducing the VicoHome X71 Smart WiFi Camera, the ultimate solution for modern home secu...
View full detailsOriginal price $69.99Original price $69.99Original price $69.99Current price $59.99$59.99 - $59.99Current price $59.99Winter Sale -
Original price $79.99Original price $79.99Original price $79.99Current price $64.99$64.99 - $64.99Current price $64.99
Wireless Camera X81
Wireless Camera X81 Experience smarter home security with our advanced WiFi camera. Featuring AI-powered Cloud technology, it delivers intelligent ...
View full detailsOriginal price $79.99Original price $79.99Original price $79.99Current price $64.99$64.99 - $64.99Current price $64.99Winter Sale -
Original price $149.99Original price $149.99Original price $149.99Current price $119.99$119.99 - $119.99Current price $119.99
Smart Bird Feeder Camera G03 | solar panel
AI-Enabled Wildlife Feeder Smart Bird Feeder Camera G03 Transform your garden into a bird sanctuary. This smart cam...
View full detailsOriginal price $149.99Original price $149.99Original price $149.99Current price $119.99$119.99 - $119.99Current price $119.99Temporarily Out.


